Showing posts with label crafty. Show all posts

Monday, June 28, 2010

Gettin' My Craft On

Last winter, Cole's school was selling magazines as a fundraiser. I, being mother of the year, bought as many subscriptions as necessary for him to get the limo ride to Wendy's. One of the magazine orders got goofed up somewhere along the way and instead of receiving Family Circle, I started getting Disney Family Fun. Best mistake ever!


It's such a great magazine. It has wonderful kid-friendly project and craft ideas, recipes, time-savers, etc. I have used several activities from the magazine in the few short months I have been getting it.

I knew when I saw the 4th of July eagle shirt idea, we had to do it!

To make the shirt you need:
  • Brown, black, white, and yellow fabric paint
  • Shirt color of your choice
  • Cardboard
  • Paint brush
Start by pre-washing and drying the shirt. Then stick the cardboard in the shirt to prevent it from bleeding through.

Grab a little right hand and paint it (palm and fingers, but not the thumb) with the brown paint. Press into the center of the shirt, going sideways to create the left eagle wing.


Do the same with the left hand to create the right eagle wing. You will overlap the palms a bit.


After washing those grubby little hands, paint the ring finger, middle finger, and index finger of one hand with white paint. Stick them below the center of the wings to create the tail feathers.


Have your little helper make a fist with her left hand. Paint it with the white paint. Press it above the center of the palms to make the eagle head. You can smudge the paint a bit to make it look "feathery."


Dab a dot of black paint for the eye. Then brush in a beak with the yellow.
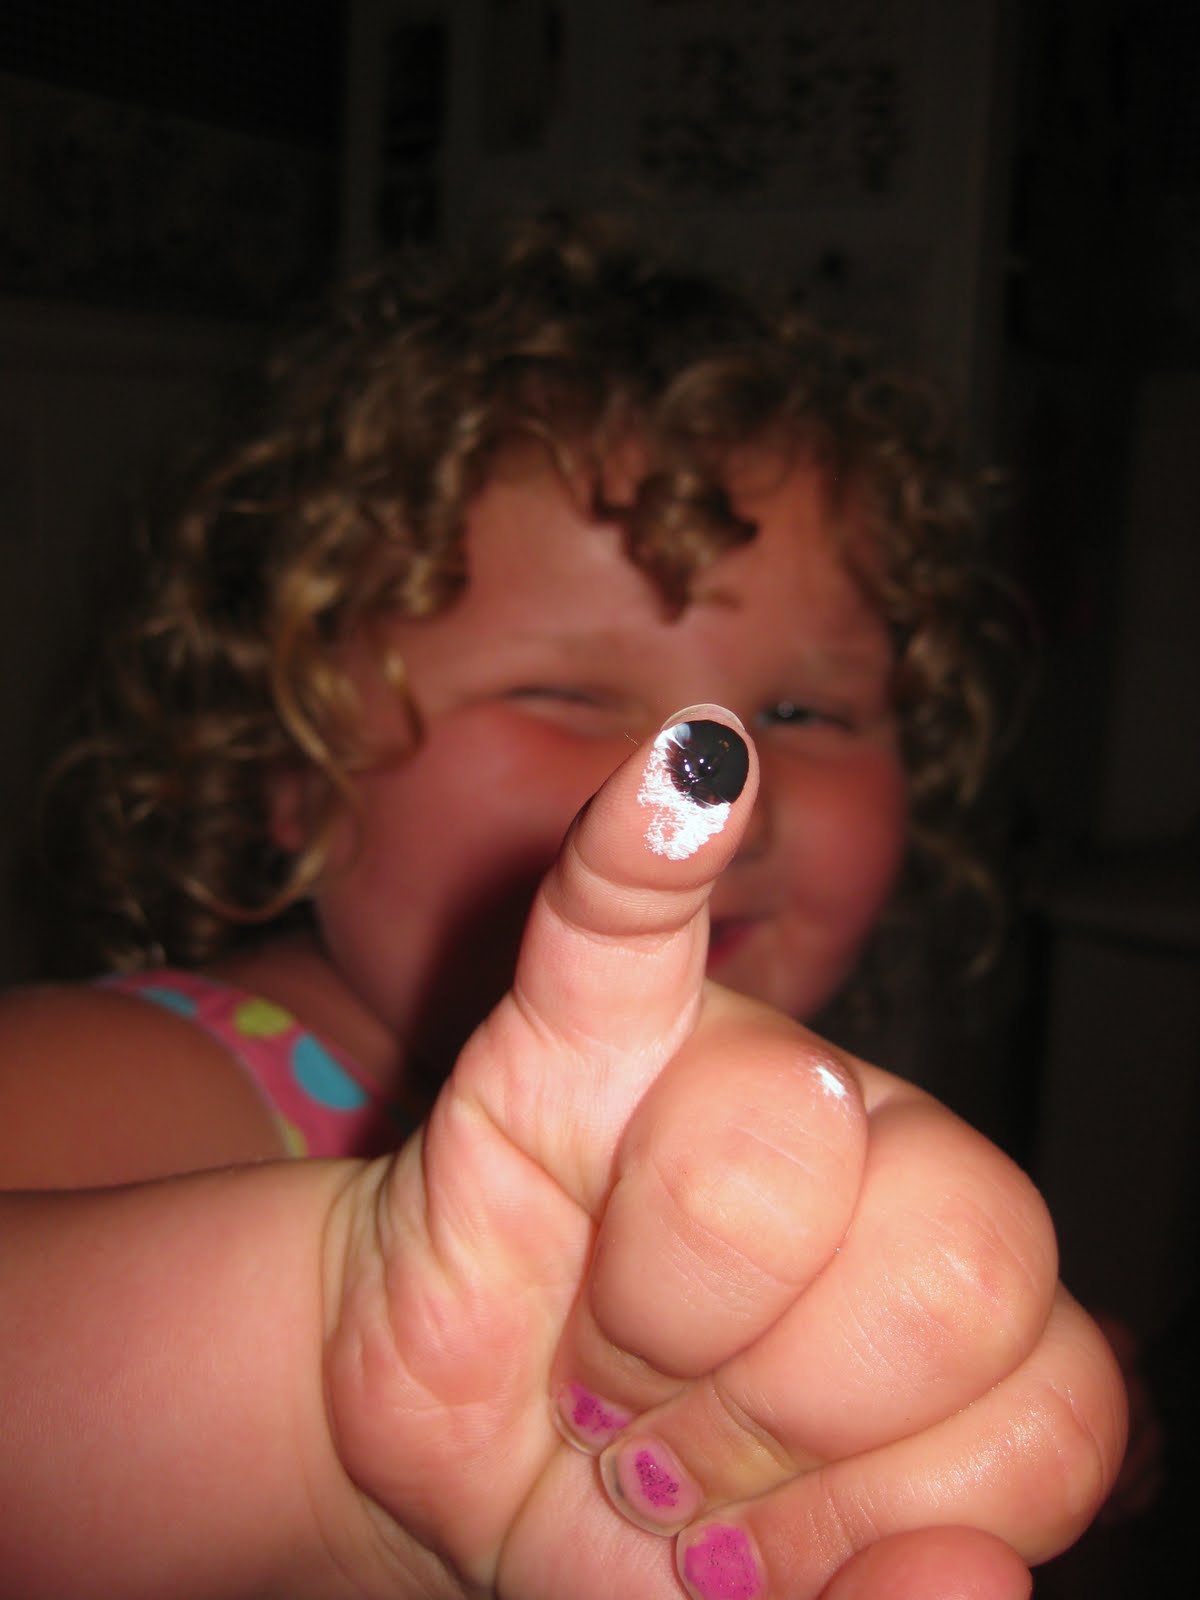


How cute is that?!


The Little Miss loved creating her own shirt...and especially loved me painting her hands. She got to be super messy without getting in trouble! Bonus!

Pin It!

Sunday, March 22, 2009

Channeling My Inner Martha

When I read this post about making glass magnets over at my bloggy friend, Forever Daisies, I knew I had to try it! She is very crafty and always doing cute little projects. Me? Notsomuch. But, this looked like something even I could do!

I got all of the supplies I needed at Hobby Lobby, came home, and went to town. And guess what? It worked!

I.was.crafty. Who knew I had it in me?!

You need: scrapbook paper, Mod Podge, glass marbles, foam brush, and magnets.
Look at this scrapbook paper. I was in awe walking down the aisle. I don't scrapbook, which I think is a very good thing. I could have spent my life savings (all $40 of it) on paper alone. You know how much I love anything office-y and this paper was calling my name!

Put the marble on the paper over the design you want.

Trace and cut out.


Put a thin layer of Mod Podge on the back of the marble.

Place the paper (design side down-yes, I kept doing it wrong!) on the marble. Let it dry completely.

Once it's dry, place a thin layer of Mod Podge over the back of the marble to seal it. Let it dry.


Now for the magnets. I bought cheap craft roll magnet. It isn't quite strong enough to hold the marbles...all evening we heard them falling to the floor. I will make these again with stronger magnets. But for now...look how cute!


Pin It!